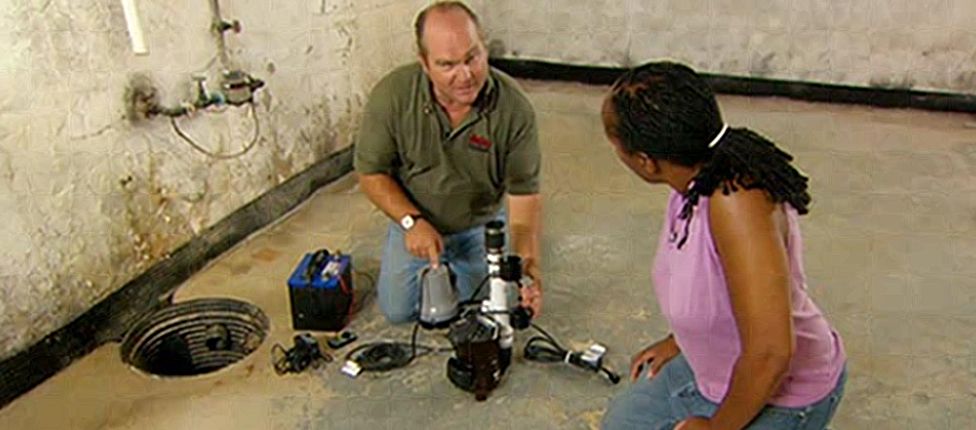
Sump pumps are a handy tool to prevent basement flooding and water damage in your home. They use a submersible float that rises and falls with the water table. When flooding causes the float to rise, the pump turns on and drains water outdoors. This Old House’s Tom Silva walks you through each step a sump pump installer follows, using a submersible model as an example.
Types of Sump Pumps
Different types of sump pumps are available for different applications. Here are a few of them:
- Submersible sump pumps: Submersible pumps are the most common for residential use, and with today’s technology, they can operate quietly and efficiently.
- Battery backup sump pumps: Sump pumps with a battery backup keep your basement dry even through power outages.
- Pedestal sump pumps: Pedestal sump pumps are ideal for smaller basins, and since their motor sits above the pit, service and maintenance are that much easier.
- Water-powered sump pumps: Water-powered pumps use your home’s water supply pressure to do their job rather than electricity or batteries. They might be for you if you’re more environmentally conscious.
Sump Pump Installation Process
Installing a sump pump generally takes a professional’s help and guidance. Even if you have the right tools for the job, the chopping and digging is hard work that can take several hours to complete.
Preparation and Planning
Your installer will recommend a location for your sump pump that allows for proper drainage, is close to a power source, and follows local building codes. They’ll check for obstacles and ensure the outlet pipe drains away from your home’s foundation.
Creating the Sump Pit
Once a location’s decided, the installer marks an outline of the sump basin and starts breaking through the floor with a demolition hammer. They’ll dig deep enough to set the sump basin flush with the floor.
Then, they’ll wrap the exterior base of the basin with filter fabric to stop silt from clogging the pump motor. They’ll place several layers of gravel inside the basin, then a paver stone on top. “The pump manufacturer recommends putting a paver on top of the stone. They don’t want any stone getting caught in the impeller,” Silva says. “It also creates a nice, flat surface for the pump to sit on.”
Installing the Pump and Piping
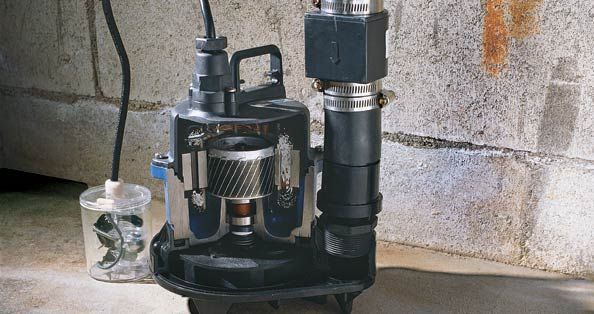
Once the pit’s been prepared, it’s time to install the pump. The installer places the pump on the paver stone, then connects a check valve to the discharge pipe to stop water backflow. Then, they or another licensed plumber will install PVC piping from the check valve up the wall, out of the basement, and a little ways outdoors so water doesn’t settle right at the foundation.
Finishing the Installation
If all the connections are leak-free, then your installer will move to the finishing touches. They’ll fill the space around the sump basin with concrete and smooth it down to create a seamless finish with the existing floor.
Once the concrete cures, they’ll test the pump. They must check that the float switch activates the pump at the right level and that water’s discharged properly outside the home.
Sump Pump Maintenance and Troubleshooting
Regular maintenance ensures your sump pump functions properly when you need it to. Clean the pump and pit annually to remove debris, and test the pump each season by pouring water into the pit. When you run your test, check the discharge pipe and the impeller for clogs and damage.